

How To - Assign Zones

How to Assign Zones on the Control Board?

Assign the thermostat zones for each pump by moving the jumper to the correct zone #.
Each pump has its own section of the control board, labeled 1-10. Pump 10 is always to the heat source. The other pumps may be assigned to specific zones by moving the jumper to the pins labeled with that zone #.

All pumps are initially assigned to zone 1, except pump 10. It is pre-assigned to all 4 zones. (You can skip this step if you only have 1 thermostat)

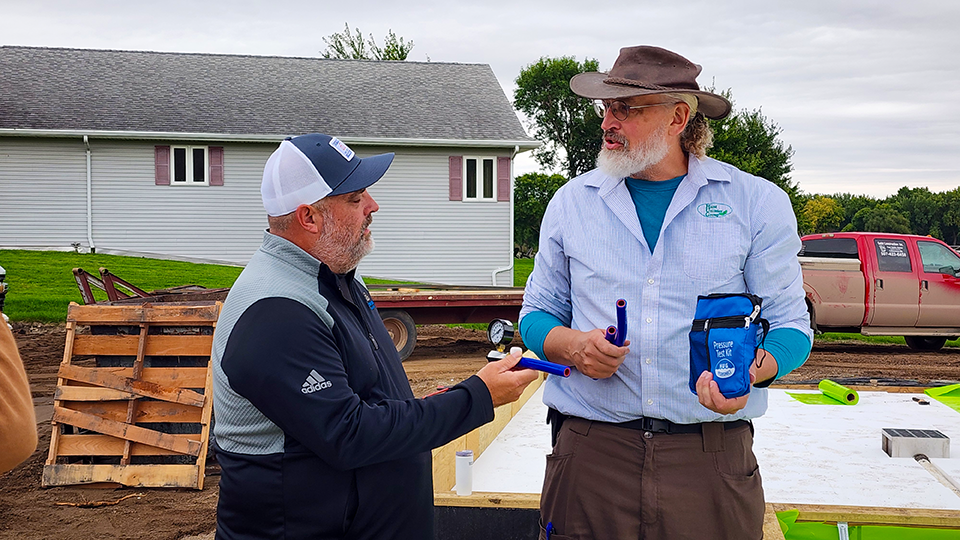
What's Happening in Cottonwood?
Extreme Panel's demonstration house brings building techniques into the real world. As a sponsor, HUG Hydronics is providing Heat-Sheet, PEX, and the in-floor heating distribution system for the project.
Fellow EP Summit sponsor BUILD Show Network is documenting the process with cameras, interviews, and a closer look at each step of the process, leading up to the January 2027 Summit.
See the build come together.
Take a closer look at the project, then explore what radiant in-floor heating could look like in your own home, shop, or garage.
Start the HUG Product Wizard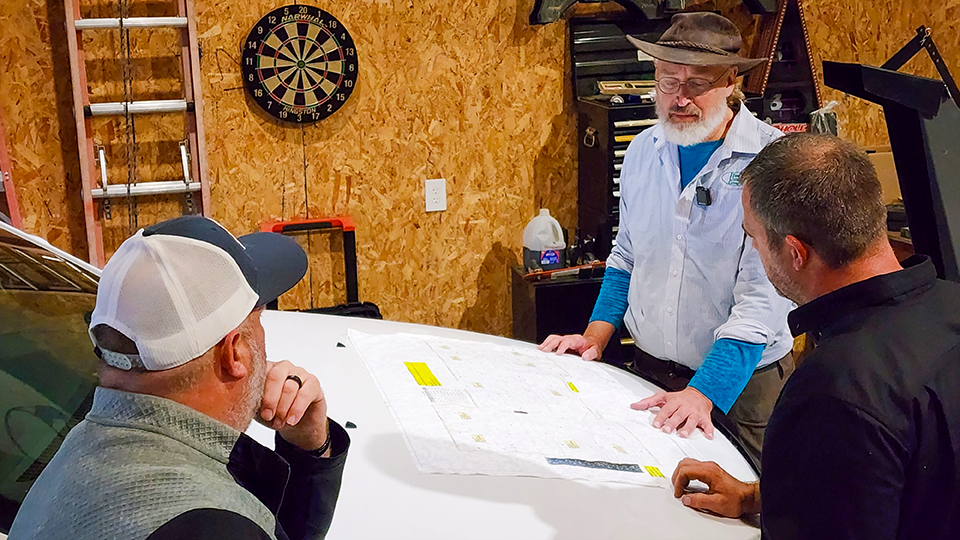
What HUG Hydronics Brings to the Project.
- Start below the slab
- Heat-Sheet insulation provides the foundation for the project's radiant floor.
- Put warmth underfoot
- PEX loops carry heated fluid through the floor, turning the slab into part of the heating system.
- Bring it together with HUG Hydronics
- The HUG Hydronics system brings pumps and controls into a compact system simplifying the mechanical setup that serves the floor.
No. The Wizard is designed to walk you through the basics in plain language. Homeowners and building professionals can use it to explore what their project may need.
HUG Hydronics is sponsoring Extreme Panel's project by providing its in-floor heating materials and system. BUILD Show Network is a fellow EP Summit sponsor documenting the demonstration house. The summit is planned for January 2027.
Yes. Call HUG Hydronics at 218-587-5001 or email sales@hugllc.com. Additionally, completing the HUG Wizard is a useful first step toward discussing your program.
Nope, and we love Extreme Panel's way of building, however this project showcases only one type of application of HUG's system. HUG Hydronics can also be used in other homes, shops, garages, and ag buildings where radiant floor heating is appropriate.
Have your floor plan or approximate dimensions handy, along with basic details about your insulation, ceiling heights, and windows. Think about which spaces you'd like to control with separate thermostats. The Wizard will guide you through the planning process, and HUG's team can help review your project's needs.